


Maybe your bank is charging you fees you didn’t know existed. Maybe you discovered that a competitor offers better rates and actually treats customers like humans. Or maybe you just want to consolidate accounts and get a fresh start. Whatever your reason, switching banks has never been easier—but you have to do it right. The difference between a smooth transition and a banking nightmare is honestly just about following a process. Let’s walk through it.
Step 1: Choose Your New Bank and Open the Account
This is the obvious first step, but it’s worth being deliberate about it. You don’t want to switch banks just to discover your new bank has different problems. Take a week or two to really research your options.
Compare checking account features that matter to you. Are you paying monthly fees? Axos Bank and many online banks charge zero monthly maintenance fees. Do you want to earn interest on your checking balance? Some newer banks offer that. Do you travel internationally? Look for banks with good ATM networks or low foreign transaction fees.
Once you’ve decided, open the account. You can do this online in minutes with most banks. You don’t need to close your old account yet—that comes later. Having both accounts open simultaneously makes the transition smoother because you have time to catch any bills or transfers you might have missed.
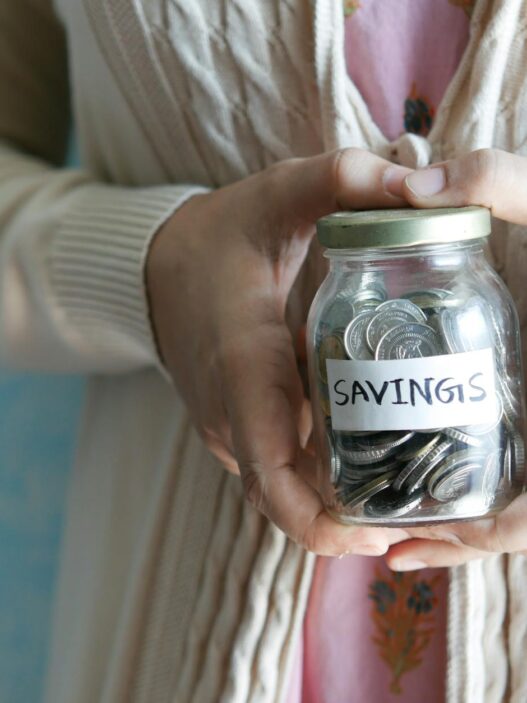
Step 2: Transfer Your Savings (But Keep Your Checking for Now)
If you have a savings account at your old bank, transfer that money to your new bank’s savings account. This is the low-stakes warm-up. Most banks make external transfers simple—log into your new bank’s app, select the transfer option, and follow the prompts to connect your old bank.
Use your old bank account and new bank account information to initiate the transfer. The money typically arrives within one to three business days. If you have a large balance, consider doing multiple smaller transfers to verify the process works smoothly.
Don’t panic if it takes a couple of days. That’s normal for ACH transfers between banks. Your money isn’t in transit sitting in some void—it’s being processed through the Federal Reserve’s systems and will arrive on the date indicated when you set up the transfer.
Step 3: Set Up Direct Deposit (The Critical Step)
Here’s where most people get nervous, but this is actually straightforward. Your employer needs to send your paycheck to your new checking account instead of your old one.
Contact your HR department or payroll administrator and ask them to update your direct deposit information. You’ll give them your new bank’s routing number and your new account number. Both of these are available in your new bank’s app or online portal, and they’re printed on the first checks (if you ordered them) or on a deposit slip you can request.
Direct deposit changes typically take effect on the next pay cycle or possibly the one after that. So if you submit the change on Wednesday, your next paycheck might hit your old account, but the following one should go to your new account. Don’t panic if one final paycheck arrives at the old bank—this is normal and expected.
Budget for this. You don’t want to find yourself in a situation where you expected a paycheck to hit your new account but it went to the old one and left you short. Keep that old account open and monitor it for a couple of pay cycles to make sure the switch actually happened.
Step 4: Update Auto-Payments and Subscriptions
This is the tedious part, but it’s crucial. Any automatic payment that’s connected to your old checking account needs to be updated or canceled.
Start by making a list. What bills are being auto-paid from your old account? Think about utilities, insurance, subscriptions, gym memberships, loan payments—everything. Log into each service and update the payment information to your new bank account. Some services make this incredibly easy through their settings pages. Others are painfully slow and outdated.
As you’re doing this, it’s actually a good time to audit your subscriptions. How many monthly charges are running on your account that you forgot about? This account-switching process is a perfect opportunity to cancel subscriptions you’re not actually using.
For recurring payments that are tough to update (some utility companies are notoriously slow with their online portals), you can call the service directly and give them your new account information over the phone. It takes longer but it works.
Step 5: Wait Two to Three Months Before Closing the Old Account
This is the rule that saves people from regret. Keep your old account open for at least two months after your direct deposit switches. Why? Because things take time to catch up.
A bill you forgot about might hit your old account two months after you switched. An old subscription you didn’t remember canceling might charge there. A vendor might be slow to process your update. If your old account is already closed, you’re dealing with overdraft fees, bounced payments, and headaches.
More importantly, if something goes wrong—a direct deposit still goes to the old account, a bill bounces, anything unexpected happens—you want that old account active so you can fund it immediately and fix the problem.
After two to three months of clean activity, when you’re confident everything has been updated, you can close the old account. Call the bank’s customer service line or go into a branch and request closure. Some banks let you do it online, but a phone call ensures you’re getting everything handled.
Step 6: Set Up Your New Bank’s Features
Now that you’re settled into your new account, take advantage of what drew you to this bank in the first place. If they offer high-yield savings features or better checking rates, make sure you’re properly set up to get those benefits.
Configure account notifications so you get alerts for transactions above a certain threshold. Set up any monthly goals or savings features they offer. If you’re switching to a bank like Wealthfront or Newtek Bank that offers interest on checking, verify that you understand the requirements to earn the advertised rate.
Why Switching Banks Actually Saves You Money
The reason we’re walking through this whole process is because switching banks—done right—puts money back in your pocket. Whether it’s monthly fee elimination, higher interest rates on savings, or better checking account features, these add up fast.
If your old bank was charging $120 per year in monthly maintenance fees and your new bank charges zero, that’s $120 back in your pocket immediately. If you’re moving $5,000 to a savings account earning 4.5% APY instead of 0.01%, you’re earning $225 a year in actual interest instead of 50 cents.
Over time, these differences compound. The old bank was actively working against your financial goals. The new bank is working with you.
Final Thoughts
Switching banks is genuinely less complicated than it sounds once you break it down into steps. The key is patience and process. Don’t rush the timeline—waiting two months to close your old account prevents 90% of problems. Don’t skip the details—updating auto-payments prevents bills from bouncing. And don’t overthink it—banks have processed literally millions of account switches. They know how to handle it.
When everything is set up correctly, switching banks ends up being one of the smartest financial moves you can make. You’re not starting over; you’re just moving your money to a place that actually deserves it.
Sources
- Federal Reserve. “ACH Transfer Processing.” https://www.federalreserve.gov
- Consumer Financial Protection Bureau. “Bank Account Management.” https://www.consumerfinance.gov
- National Association of Convenience Stores. “Direct Deposit Information.” 2026.
- Axos Bank. “Account Setup Guide.” https://www.axosbank.com
- National Automated Clearing House Association. “Direct Deposit Standards.” https://www.nacha.org